Styling
Change the appearance of your word clouds.
Graphics Items
Shapego provides you with different tools to style your word clouds. Each tool works on a graphics item of the word cloud: Palettes, Shapes, Layouts, Text Sizes, Fonts. You can change word cloud colors by tweaking its palette or you can modify its word size and appearance by playing with layouts, text sizes and fonts. The overall contour that defines your word cloud can be changed by choosing a different shape.
Palettes
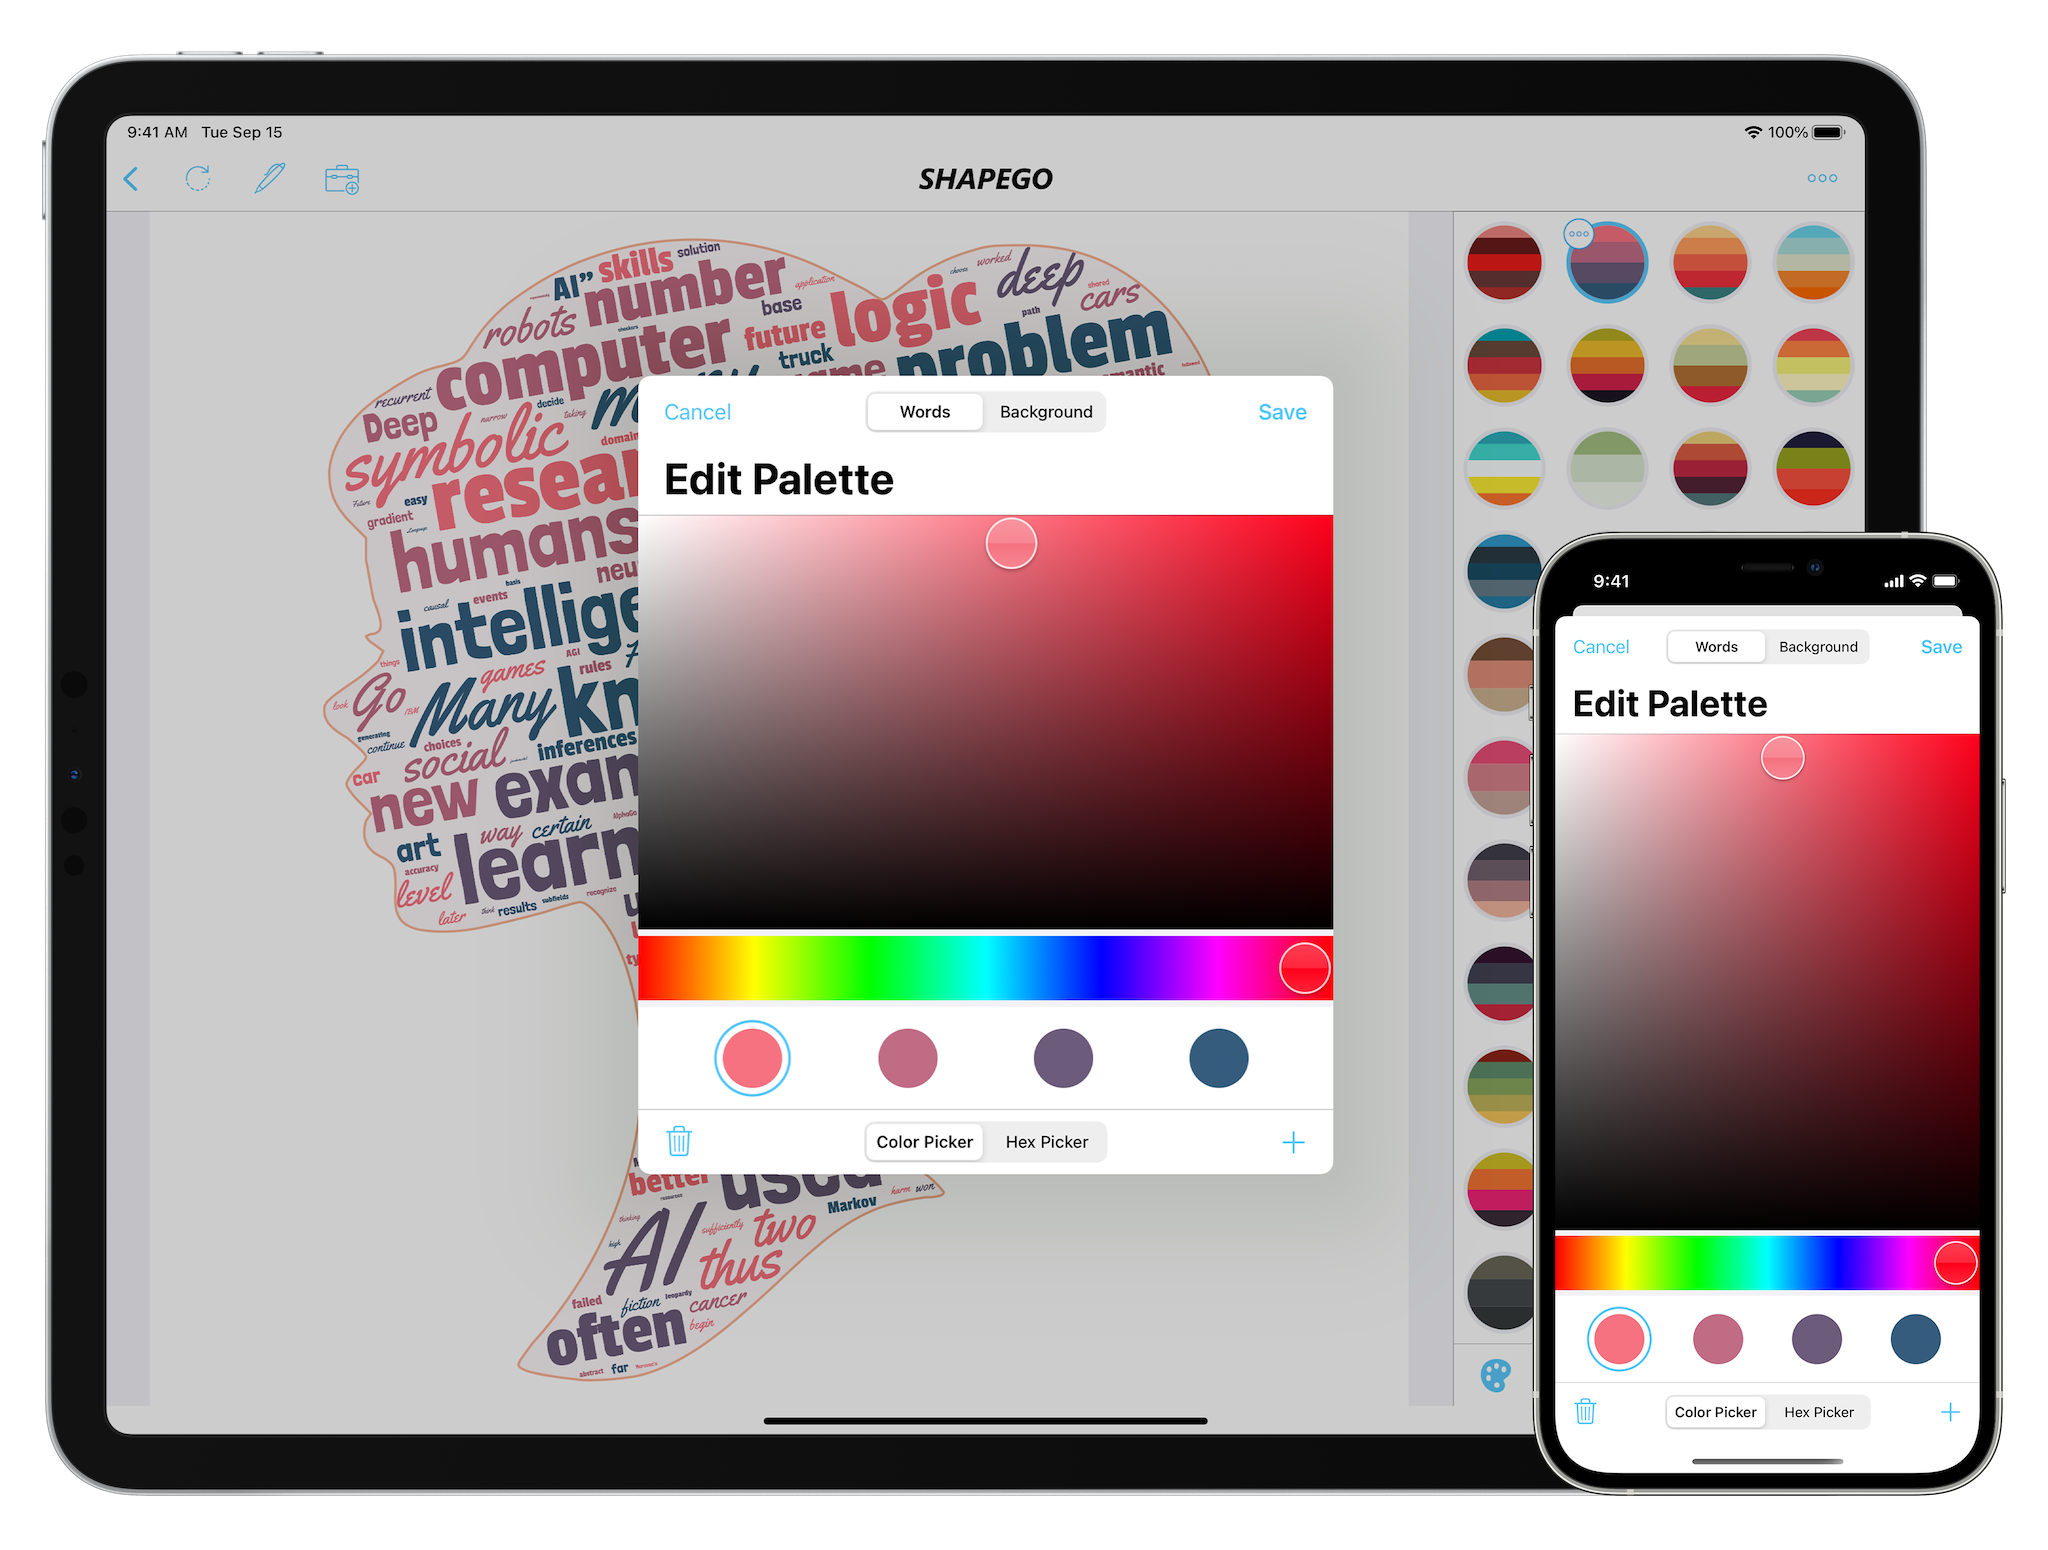
By changing palettes, you can easily define the color of each word of your word cloud. Shapego ships with 28 different palettes and lets also you create your own. Each palette can have up to five colors: when a word cloud is generated, Shapego will randomly assign a palette's color to each word. To check all the available palettes, you tap the Palette icon in the bottom toolbar and scroll down in the Palettes View.
If you want to shuffle the colors of a given palette, just tap a single palette and the words will be randomly re-colored.
You can create, edit, clone and delete a single palette. By tapping the 3 dots on a palette item, a context menu will appear showing the Edit, Clone, Delete actions.
To create a new palette, tap the Add Toolbox Item icon and select the Palette action: the Palette Editor will appear allowing you to define the palette colors. For each color, you can manually set its brightness and its hue or manually input its exact hexadecimal value. If you want all the words to be colored the same, tap the Trash icon to remove the colors from the palette and set just one color. Analogously, tap the Plus icon to add a color to the palette.
You can edit a palette by long pressing on it and choosing the Edit action.
You can clone a palette by long pressing on it and choosing the Clone action.
You can delete a palette by long pressing on it and choosing the Delete action.


Shapes
Shapes are one of the main Shapego killer features. The app ships with more than 80 predefined shapes and you can also create your own. A shape is basically a black and white image that defines the boundary where the words will be placed; by default, Shapego will try to place the words in the black section of the image.
You can create and delete Shapes. By tapping the 3 dots on a shape item a context menu will appear showing the Delete action.
To create a new shape, tap the TooAdd Toolbox Item icon and select the Shape action: the Shape Editor will appear allowing you to create a new Shape. In order to do that you need to provide Shapego with a black and white image. You can import it by using getting it from the stock Photos app or by pasting it from your clipboard.
To import an image from the Photos app, tap the Plus icon in the bottom toolbar and then select From Photos.
To create a shape from a text string, tap the Plus icon in the bottom toolbar and then select From Text.
To paste an image from the content of your clipboard, tap the Plus icon in the bottom toolbar and then select From Clipboard. The clipboard method can be really handy when you want to use an image present in a web page that you're browsing with Safari: you just long press the image and a context menu will appear allowing to choose the Copy action.
In the bottom toolbar of the Shape Editor you will find different tools that lets you edit the imported shapes: those are the Threshold, Blur, Scale, Rotate and Invert actions.
The Threshold action lets you remove details from the imported shape: this is very useful when the imported image has some hard contours or edge that you want to smooth out.
The Blur action lets you apply a blur filter to the whole image: again this is useful when you want to remove excessive details from the imported shape. Unlike the Threshold action, the blur filter is applied globally and must be carefully adjusted to not remove too much details from the imported image.
The Scale action lets you enlarge and shrink the imported image.
The Rotate action lets you reorient the imported image.
You can delete a shape by long pressing on it and choosing the Delete action.


Layouts
With Layouts you can define the orientation of each word. Shapego ships with 10 different layouts but you can also always create your own. Each layout can have up to five orientations: when a word cloud is generated, Shapego will randomly assign an orientation to each word. To check all the available layouts, you tap the Layout icon in the bottom toolbar and scroll down in the Layouts View.
If you want to shuffle the orientations of the words composing your word cloud, just tap a single layout and the words will be randomly repositioned.
You can create, edit, clone and delete a single layout. By tapping the 3 dots on a layout item a context menu will appear showing the Edit, Clone, Delete actions.
To create a new layout, tap the Add Toolbox Item icon and select the Layout action: the Layout Editor will appear allowing you to define the layout orientation. For each orientation, you can manually set its angle. If you want all the words to be oriented in the same way, tap the Minus icon to remove the orientations from the layout and set just one angle. Analogously, tap the Plus icon to add an orientation to the layout.
You can edit a layout by long pressing on it and choosing the Edit action.
You can clone a layout by long pressing on it and choosing the Clone action.
You can delete a layout by long pressing on it and choosing the Delete action.


Text Sizes
Text Sizes let you change the dimensions of each word by choosing between 24 different sizes. The size refers to maximum size allowed for a single word: Shapego will take this value in account and will dimension the words accordantly.

Fonts
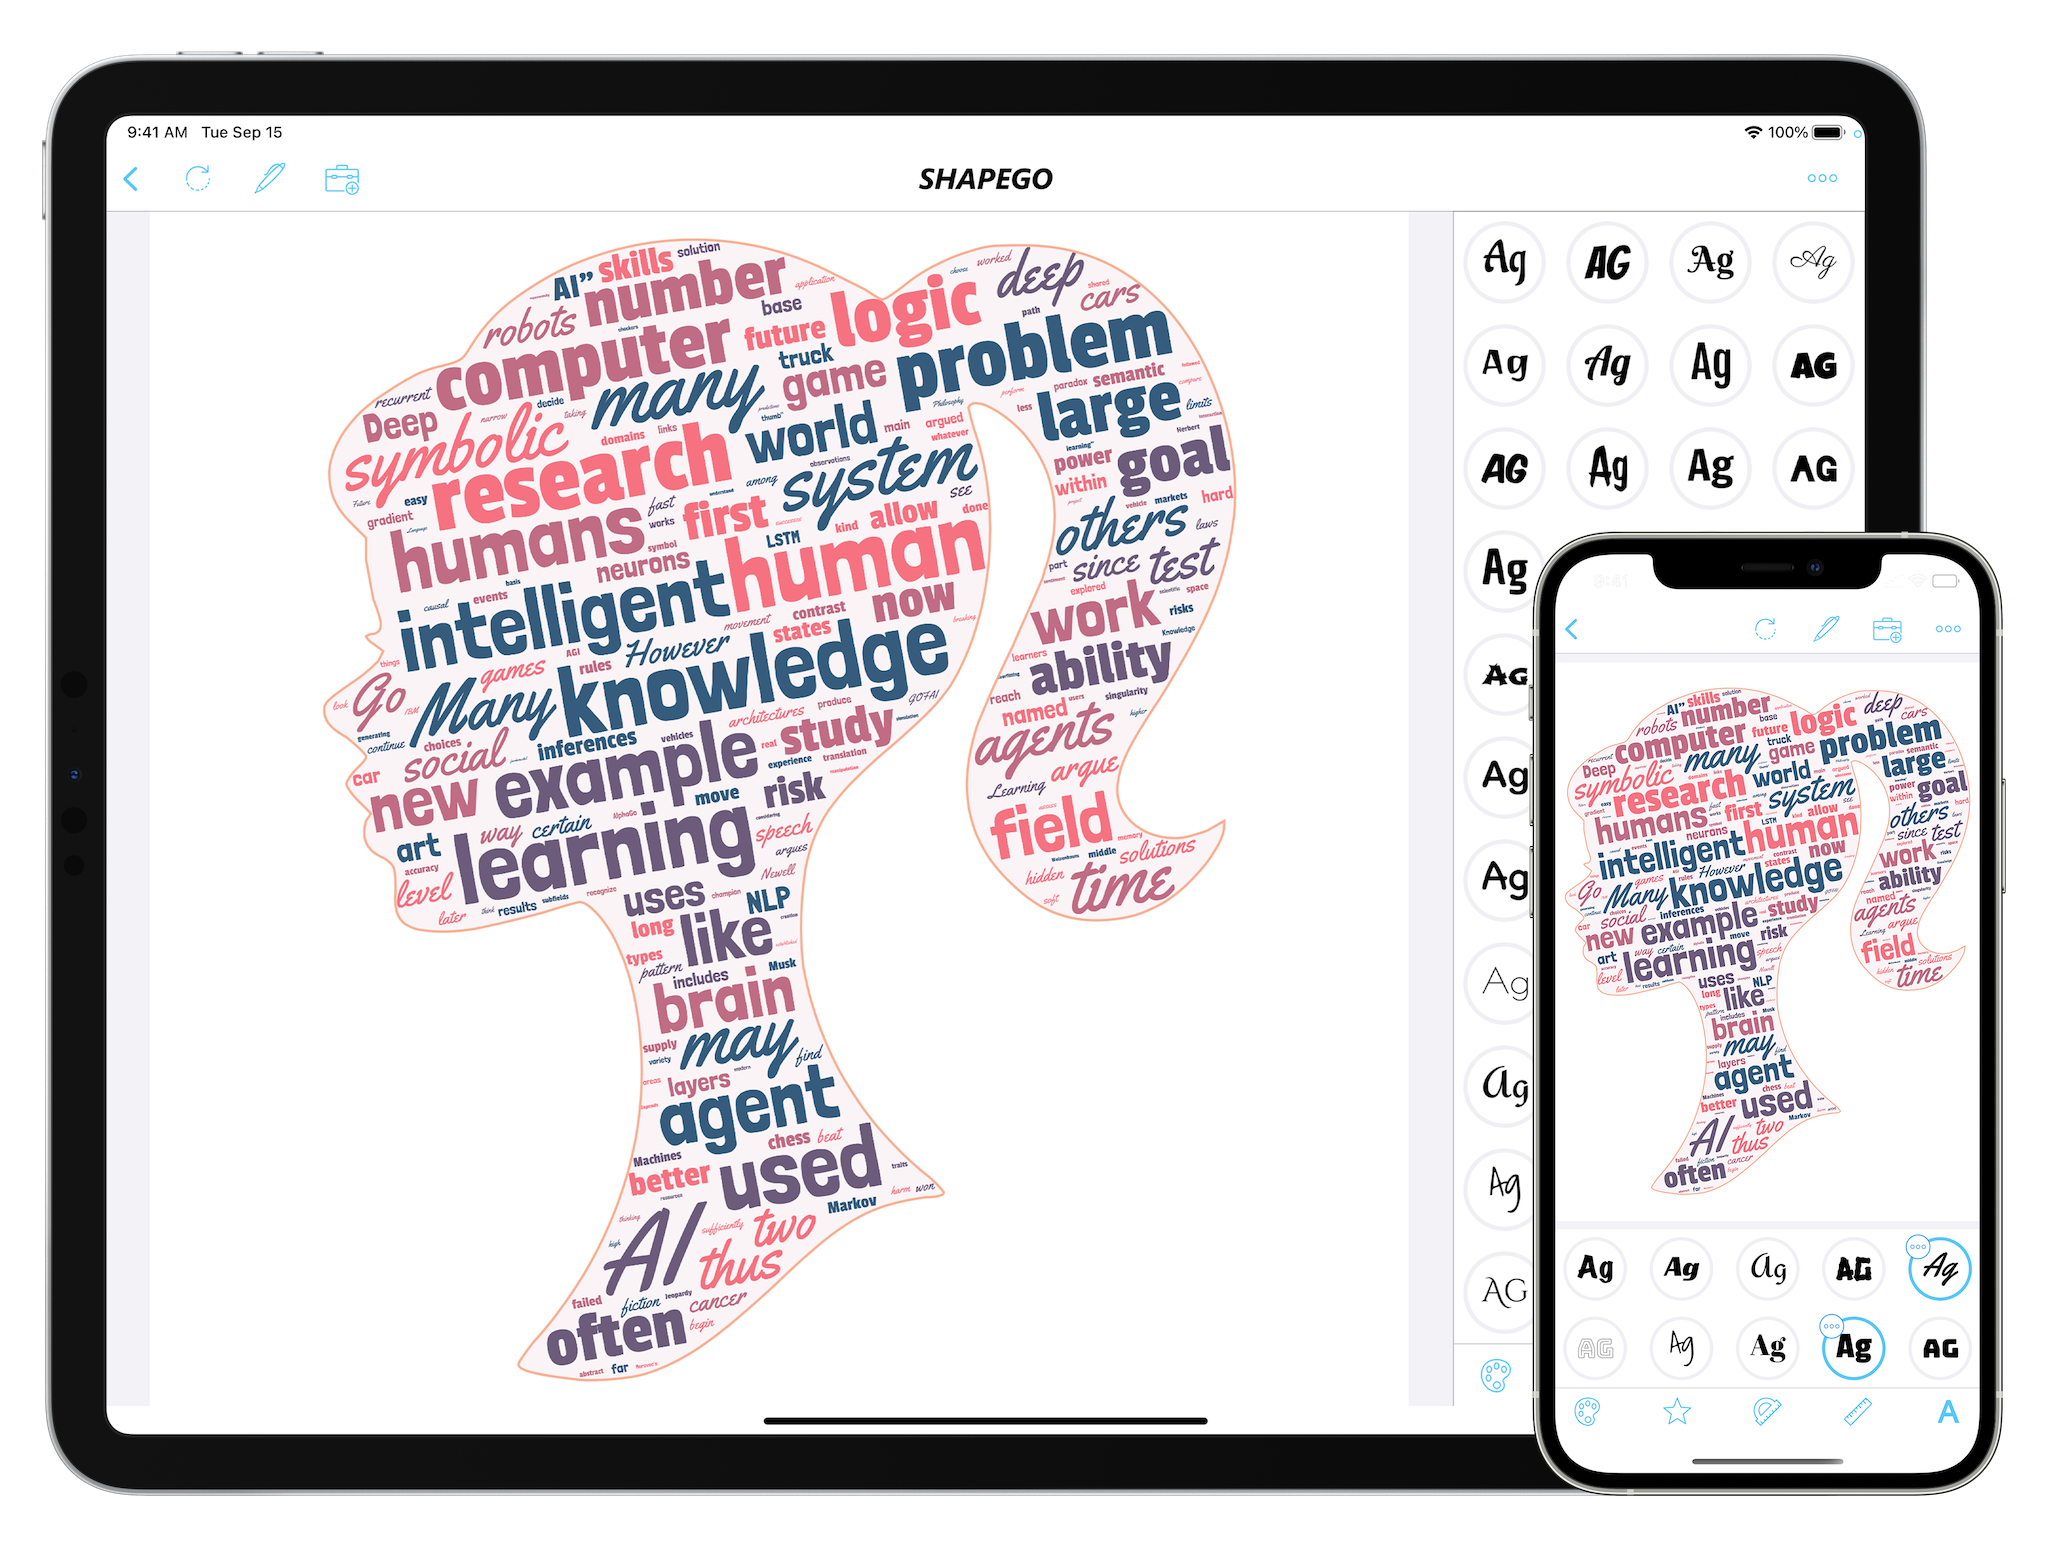
Fonts are a key element in defining the style of your word cloud. You can choose up to 3 fonts per word cloud out of the 28 predefined fonts that ships with Shapego.
To import a new font, tap the Add Toolbox Item icon and select the Font action: the Font Editor will appear allowing you to import your own font from OpenType or TrueType files.
You can import and delete a single font. By tapping the 3 dots on a font item a context menu will appear showing the Delete action.

